
Yodify Product Library
Instantly populate your store or catalog with Orion Instruments products
Book Your Demo and See How
or create your store
Orion Instruments
Orion Instruments
1
-
48
of
136 Products

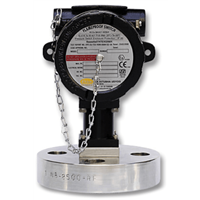
TR Comparison Test Pump
Orion Instruments
Configure

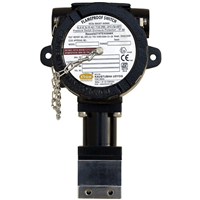
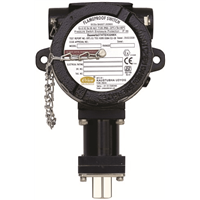
KU Series OEM High Range Pressure Switch
Orion Instruments

Configure

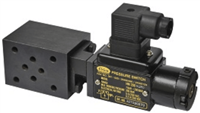
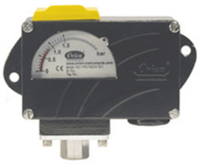
CF Series Ultra Low Range Pressure Difference Switch
Orion Instruments

Configure

MZA Series OEM High Range Pressure Switch
Orion Instruments

Configure

MD Series OEM High Range Pressure Switch
Orion Instruments

Configure

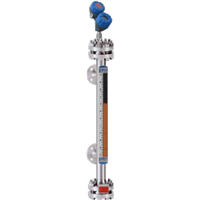
Atlas™ Magnetic Level Indicator
Orion Instruments


FC Series High Range Bellows Pressure Switch
Orion Instruments

Configure

FC Series Hydraulic Range Pressure Switch
Orion Instruments

Configure

FC Series Low Range Pressure Switch
Orion Instruments

Configure

FE Series High Range DP Pressure Difference Switch
Orion Instruments

Configure

FE Series Low Range Pressure Switch
Orion Instruments

Configure

MD Series Vacuum Pressure Switch
Orion Instruments
Configure

MN/MA Series High Range Pressure Switch
Orion Instruments

Configure

MT Series High Range Pressure Switch
Orion Instruments

Configure

HM Series High Range Pressure Switch
Orion Instruments
Configure

HM Series Hydraulic Pressure Switch
Orion Instruments
Configure

MD Series High Proof High Range Pressure Difference Switch
Orion Instruments

Configure

MD Series Large Bore High Range Pressure Switch
Orion Instruments

Configure

MT Series High Proof High Range Pressure Difference Switch
Orion Instruments

Configure

MT Series Low Range High Proof Pressure Switch
Orion Instruments

Configure

MZ Series High Range DP Pressure Difference Switch
Orion Instruments

Configure

PD Series High Range Pressure Difference Switch
Orion Instruments

Configure

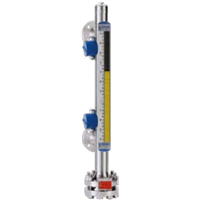
Aurora Magnetic Level Indicator
Orion Instruments

OES 10 Amp Snap-Action Switch
Orion Instruments
Configure

DK Series 2 SPDT Hydraulic Pressure Switch
Orion Instruments

Configure

FC Series Vacuum Pressure Switch
Orion Instruments
Configure

FE Series High Range Compound Pressure Switch
Orion Instruments

Configure

FE Series High Range Pressure Difference Switch
Orion Instruments

Configure

MD Series Hydraulic Range Pressure Switch
Orion Instruments

Configure

MD Series Low Range High Proof Pressure Switch
Orion Instruments

Configure

MT Series High Range DP Pressure Difference Switch
Orion Instruments

Configure

MZ Series Large Bore High Range Pressure Switch
Orion Instruments

Configure

SA Series OEM High Range Pressure Switch
Orion Instruments

Configure

FC Series Flanged Pressure Switch
Orion Instruments
Configure

FC Series Compound Pressure Switch
Orion Instruments
Configure

FC Series Low DP High Proof Pressure Difference Switch
Orion Instruments

Configure
.jpg)
FE Series Low ΔP High Proof Pressure Difference Switch
Orion Instruments
.jpg)
Configure

MD High Proof High Range Pressure Switch
Orion Instruments

Configure
.jpg)
MD Series Air Relay Pressure Switch
Orion Instruments
.jpg)
Configure

MD Series Hydraulic Diaphragm Pressure Switch
Orion Instruments

Configure

MD Series Low Range Compound Pressure Switch
Orion Instruments

Configure

MG/ME Series Hygiene Range Pressure Switch
Orion Instruments

Configure

MT Series Low Range Compound Pressure Switch
Orion Instruments

Configure

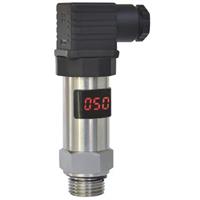
TX Pressure Transmitter
Orion Instruments
Configure

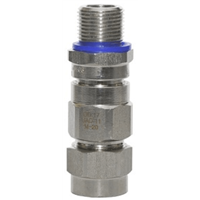
ATEX Double Compression Cable Gland
Orion Instruments

EZ/EX Series OEM High Range Pressure Switch
Orion Instruments

Configure

Gauge Saver
Orion Instruments


MD Series High Range Bellows Pressure Switch
Orion Instruments
Configure