Yodify Product Library
Instantly populate your store or catalog with Budenberg products
Book Your Demo and See How
or create your store

Budenberg
Budenberg
1
-
48
of
85 Products

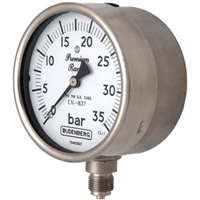
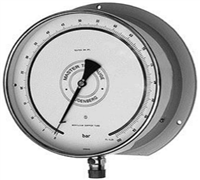
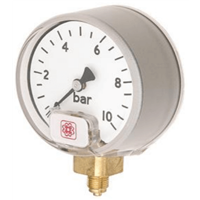
5414 Super Test Gauge
Budenberg


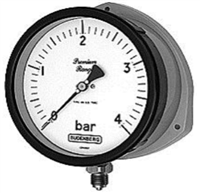
7214 Premium Test Gauge
Budenberg

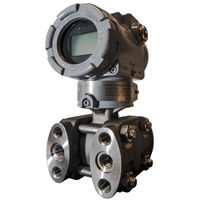
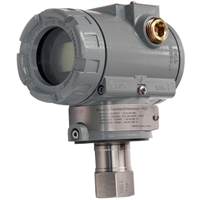
BGL-DPT1000 Smart Pressure Transmitter
Budenberg

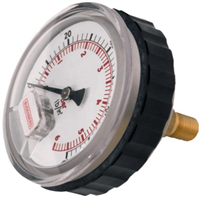
11/15L Industrial Service Gauge
Budenberg


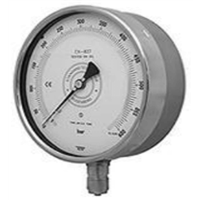
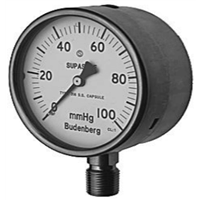
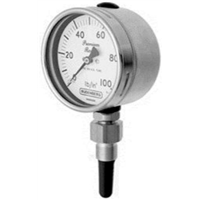
966GP Bourdon Tube Pressure Gauge
Budenberg

BGL-PTG1000 Smart Pressure Transmitter
Budenberg

R300 Stand-Alone Feedback Unit
Budenberg


11/15H Industrial Service Gauge
Budenberg

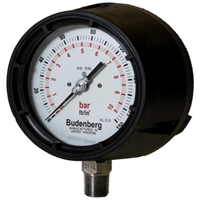
5214 Standard Test Gauge
Budenberg
Configure

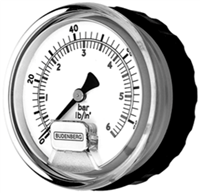
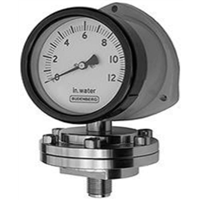
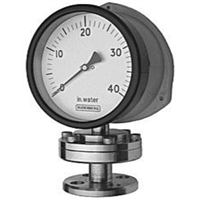
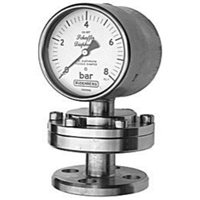
P91/CSE 100 mm Schaffer Diaphragm Gauge
Budenberg

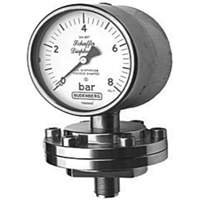
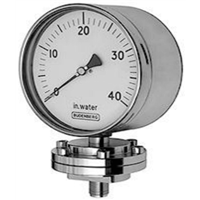
91/SE 100 mm Schaffer Diaphragm Gauge
Budenberg

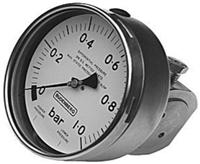
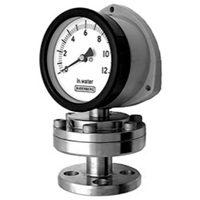
M24-6 Differential Pressure Gauge
Budenberg

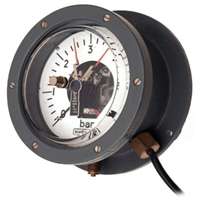
510 Watertight Pressure Gauge
Budenberg

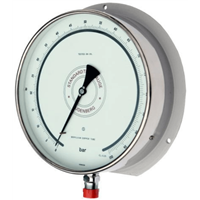
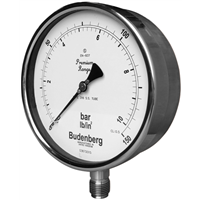
5314 Master Test Gauge
Budenberg

966TGP-115 mm Bourdon Tube Pressure Gauge
Budenberg

966TGP Bourdon Tube Pressure Gauge
Budenberg


P91/CFN Schaffer Diaphragm Gauge
Budenberg

91/SE 150 mm Schaffer Diaphragm Gauge
Budenberg

15H Industrial Service Gauge
Budenberg


15P Industrial Service Gauge
Budenberg

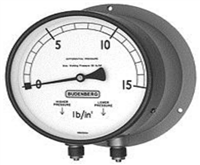
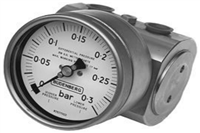
179F Differential Pressure Gauge
Budenberg

966LGP Capsule Pressure Gauge
Budenberg

P91/CFN 100 mm Schaffer Diaphragm Gauge
Budenberg

P91/CSE 150 mm Schaffer Diaphragm Gauge
Budenberg


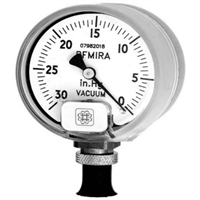
269 BFMIRA Vacuum Gauge
Budenberg

BGT66 Turret Gauge
Budenberg

15L Industrial Service Gauge
Budenberg


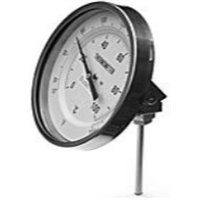
32G/33G/34G/54G Gas Filled Expansion Thermometer
Budenberg


966MGP Bourdon Tube Pressure Gauge
Budenberg

CV Non-Return Check Valve
Budenberg


M24-2 Differential Pressure Gauge
Budenberg

11/15P Industrial Service Gauge
Budenberg


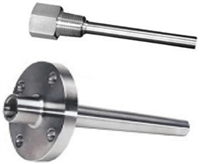
250 Solid Drilled Thermowell
Budenberg

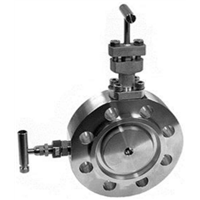
6MNB & 10MNB Single Block and Bleed Monoflange Valve
Budenberg
Configure
.jpg)
65ND 5 Valve Differential Manifold
Budenberg
.jpg)
Configure

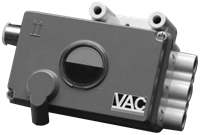
D300 Digital Valve Positioner
Budenberg
Configure

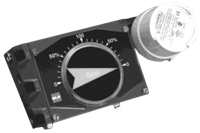
V100EEX Pneumatic Valve Positioner
Budenberg
Configure

6MB & 10MB Monoflange Isolation Valve
Budenberg
Configure

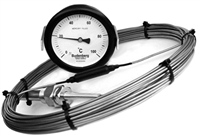
95F-211 Liquid Filled Expansion Thermometer
Budenberg

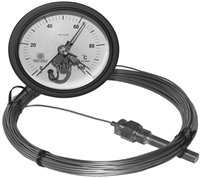
95FG/211FG Gas Filled Thermometer
Budenberg

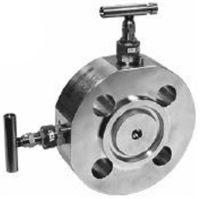
98S Double Block & Bleed Valve
Budenberg

Configure

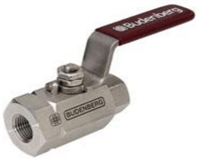
6B & 10B Ball Valve For Process Industry
Budenberg
Configure

91/CFN Schaffer Diaphragm Pressure Gauge
Budenberg

11/15HR Industrial Service Gauge
Budenberg

BT600A Bi-Metallic Thermometer
Budenberg
Configure

202 Bourdon Tube Pressure Gauge
Budenberg

6N & 10N Needle Valve
Budenberg
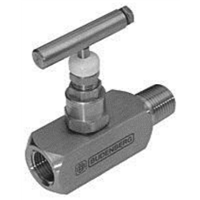
Configure

MVF Modualr Double Block & Bleed Valve
Budenberg
